User Guide
Follow these steps to install components on your Shopify Store.
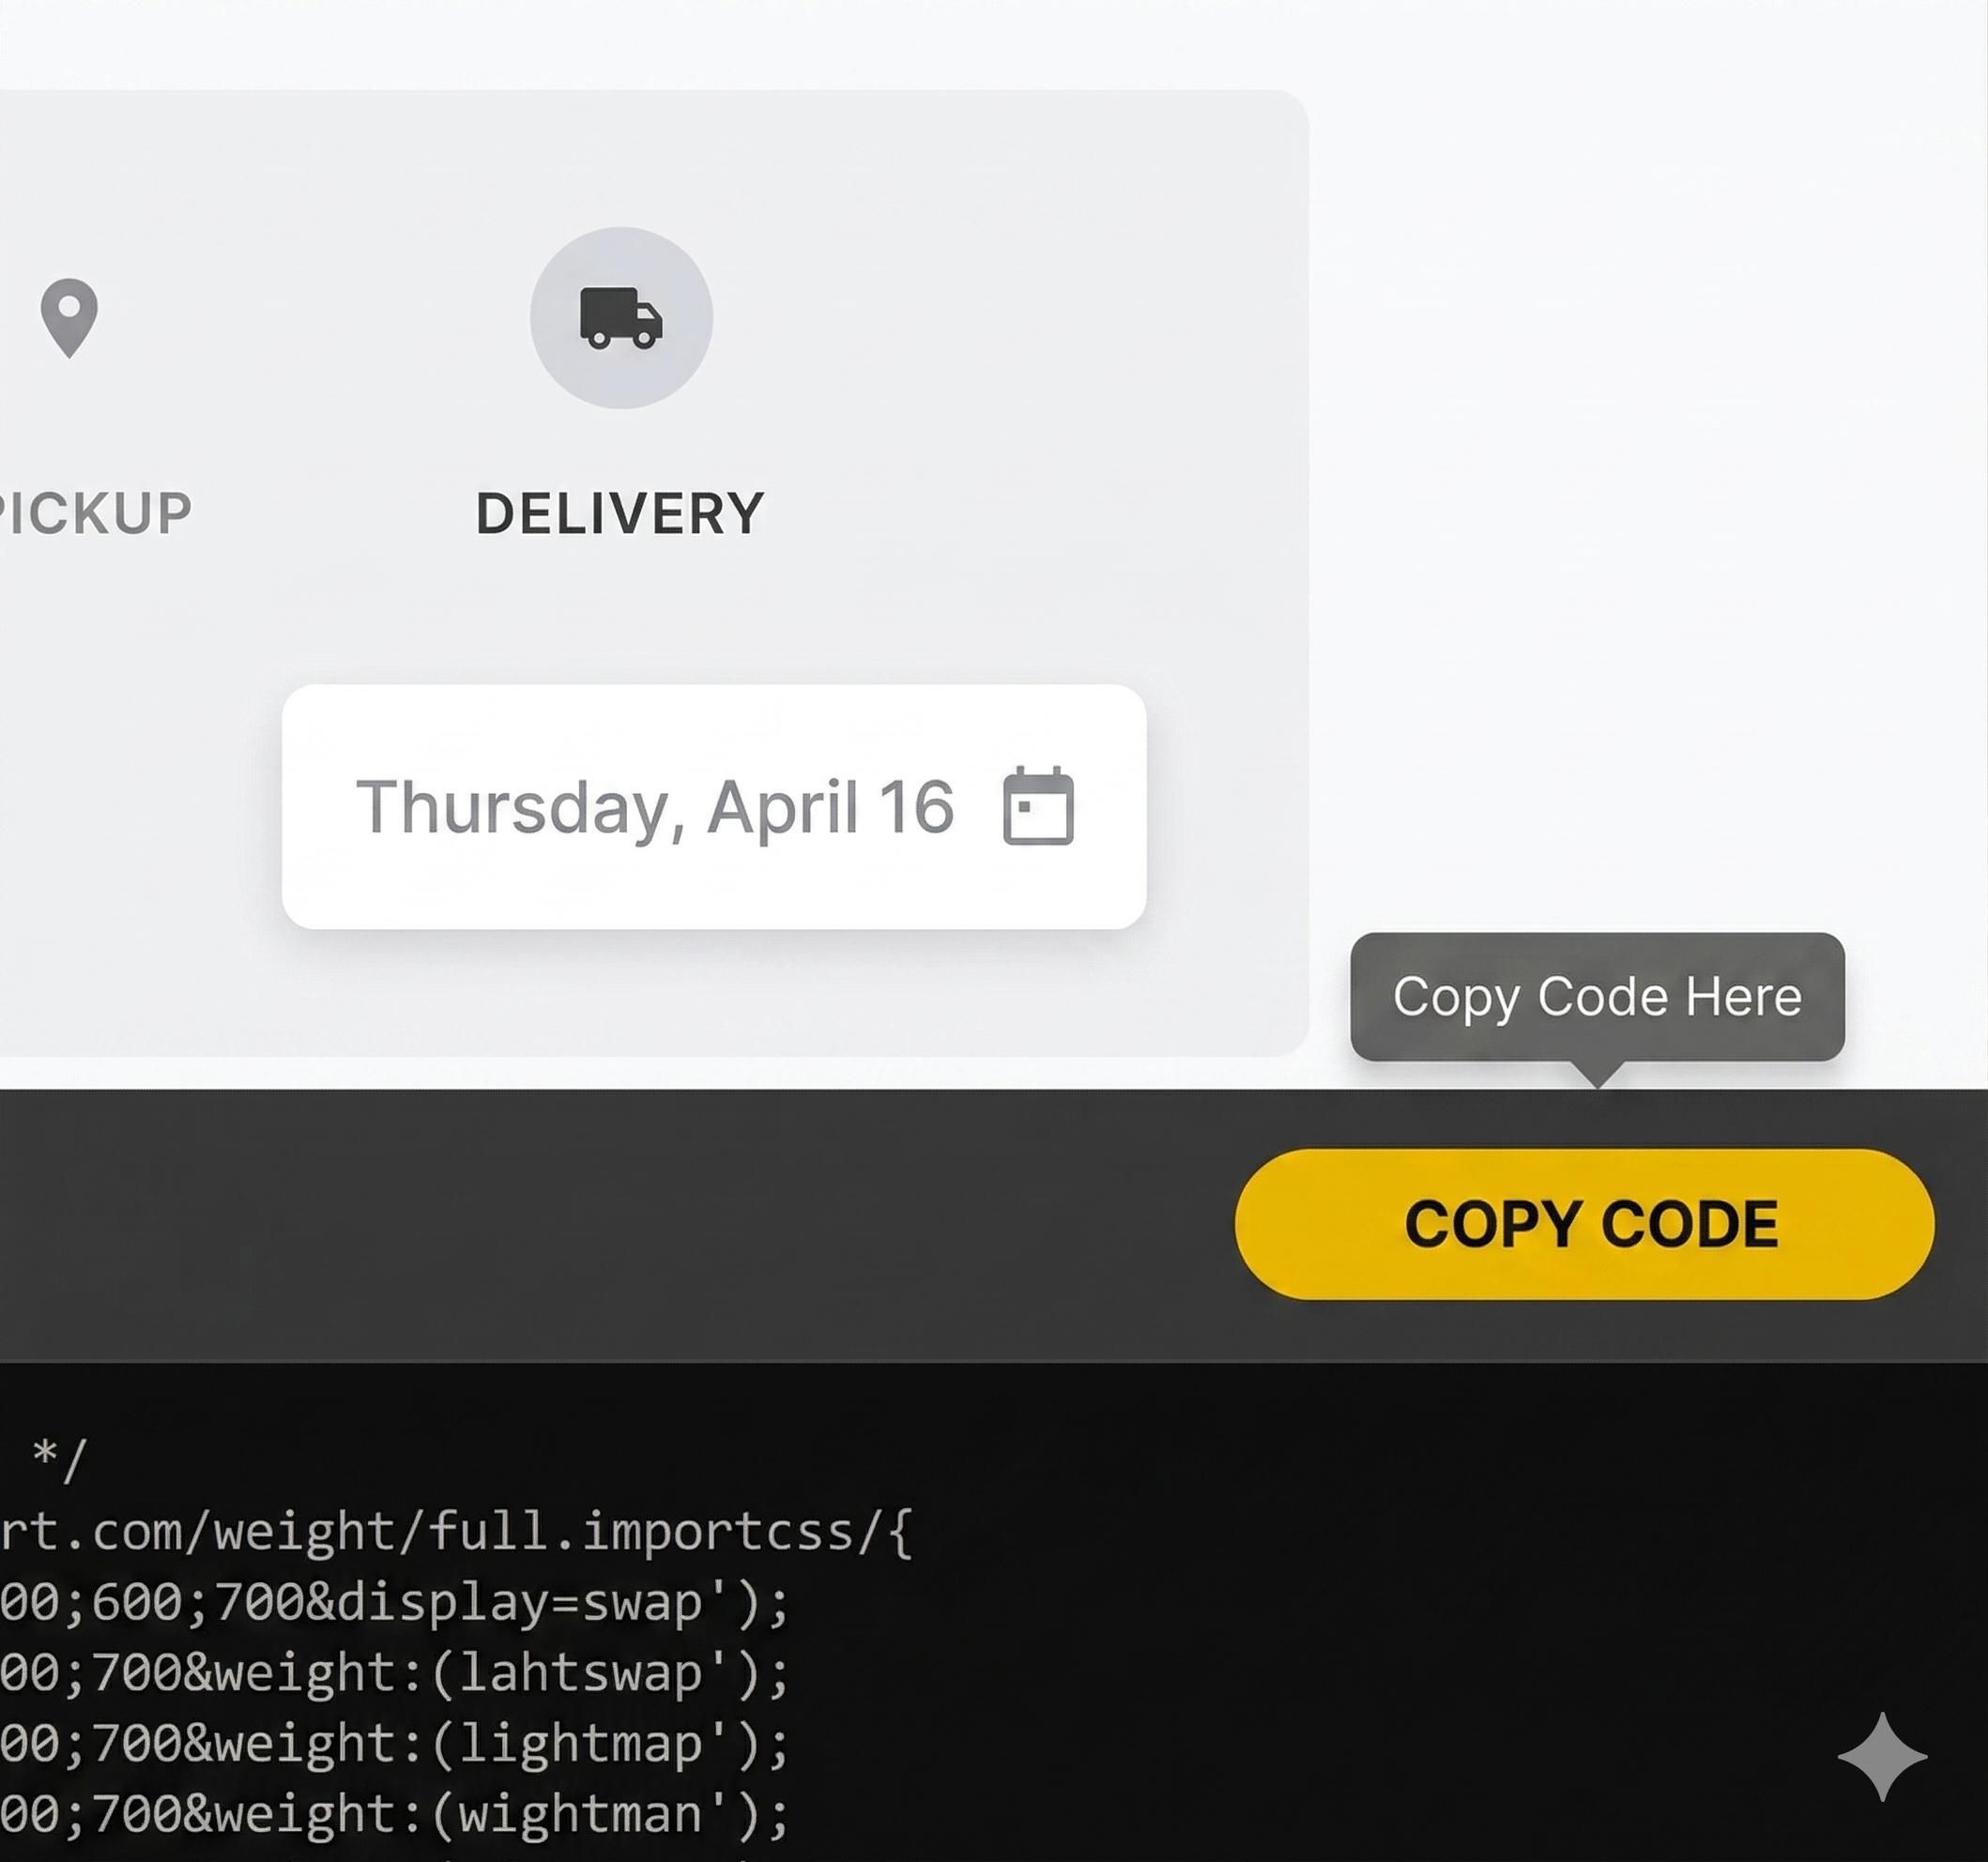
Customize & Copy
Browse the gallery and select a component. Use the Live Customizer sidebar to match your brand's colors, fonts, and settings. Once perfected, click the COPY TO CLIPBOARD button in the bottom code panel.
Create Section
Log in to your Shopify Admin. Navigate to Online Store > Themes. Click the three dots (...) and select Edit Code. Under the Sections folder, click "Add a new section" and give it a unique name (e.g., custom-timer).
.png)
Paste & Deploy
Delete all existing code in the new file. Paste the code you copied from Code.Nexilant. Hit Save. Our engine has already hardcoded your settings, so no complex configuration is needed.
Activate in Theme
Go to your Theme Customizer. On any page, click Add Section and search for the name you created. Your new high-end component is now live and fully functional!
Our code is 100% independent. Removing the schema from the copy process ensures that your store speed remains lightning fast and free from Liquid errors.